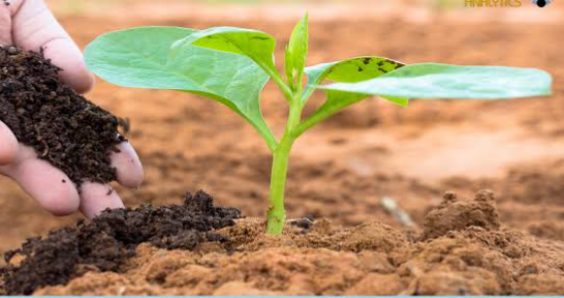
Composting is a recycling process. It can be defined as a controlled, aerobic (oxygen-required), decomposition process where organic materials are converted into a nutrient-rich soil amendment. During the process of composting, Microorganisms are used to break down the materials that are compiled to form the compost pile. They use carbon and nitrogen to grow and reproduce, water to digest materials, and oxygen to breathe.
MATERIALS USED FOR COMPOSTING
The materials used for composting include
1. plant wastes such as “greens” (green waste) and “browns” (brown waste). The Greens are materials rich in nitrogen, such as leaves, grass, and food scraps. While the Browns are woody materials rich in carbon, such as stalks, paper, and wood chips.
2. food waste,
3. recycling organic materials,
4. manure.
5. beneficial organisms, such as bacteria, protozoa, nematodes, and fungi.
6. Urine
7. Water
8. Arsh
9 Thermometer
10. Tester
11. Tools like spade, wheelbarrow, and sacks etc
BENEFITS OF COMPOST
1. Mature compost stores well and it is free of unpleasant odors, and easier to handle
2. It is less bulky than raw organic wastes.
3. In agronomic and horticultural operations, compost are used as soil amendment, seed starter, mulch, and natural fertilizer, depending on its characteristics.
4. Composting can used to reduce or eliminate weed seeds and plant pathogens in organic residues.
5. Compost helps improving soil biological, chemical, and physical characteristics:
6. It helps increase microbial activities in the soil
7. It helps increases cation exchange capacity of the soil.
8. It improves soil structure in clayey soils
9. It improves water retention in sandy soils
10. It reduces bioavailability of heavy metals
METHODS OF COMPOSTING
The two methods used for composting include: the pit method and the stacking piles, windrows (elongated piles), and in-vessel (enclosed) composting
PIT METHOD
Using the pit method, pits are dug in the ground in which the compost materials are placed on one another in repeated layers. The compost is then left for two weeks for the microbs to act upon (decomposition process). As microorganisms begin to decompose the organic materials, the compost pile heats up and the active phase of composting begins. During this phase, rapid decomposition occurs thereby the temperatures in the pile increase to about 130–150°F. It is also important to maintain adequate aeration of the compost because microbs will need air to complete their decomposition process within the shortest period of time. Fortnight after turning the compost, the temperature will begin to drop to 100°F and the curing phase begins. further turning should take place into empty pits until the compost is ready. The temperature should be checked every two weeks until completion.
TYPES OF COMPOSTING
There are several types of composting. The types include: cold compost, hot compost, and vermicompost
VERMICOMPOST
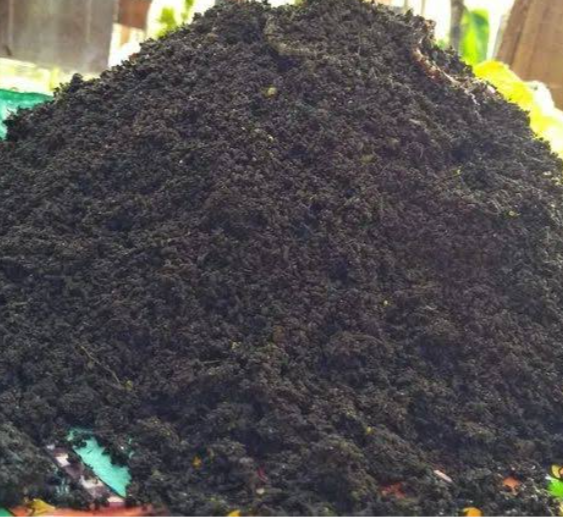
Worm farming is now gaining ground all over the world. Worms can be farmed to feed fishes, poultry, and for compost making.
The term vermiculture and VERMICOMPOST are atimes miss used as both involves the utilisation of worms. Vermiculture means raising earthworms while Vermicomposting means making compost with worms.
By definition, vermicompost is a nutrient-rich organic fertilizer and soil conditioner in a form that is relatively easy for plants to absorb.
Apart from this, Composting worms are small and live in groups of several worms. Composting worms are much easier to grow than some worms raised through vermiculture. Both microbial and worm composting are aerobic~ processes – they require oxygen (O2) to function
The term VERMICOMPOST is also different from traditional, or microbial, composting. Both composting types are tiger similar to one another.
Both use natural processes to manufacture compost.
Other differences include:
1. In VERMICOMPOST, worms carry out the decomposition processes while in microbial composting, both microbs and worms carry out the process.
2. In vermicomposting, there is no need to aerate or turn the vermicompost pile. The worms do the turning process. While in microbial composting, there is need for turning the compost for proper aeration to take place.
3. Excess energy is given off as heat in microbial composting . In vermicomposting, most of this energy is tied up in worm biomass. Composting worms hate heat. Red wiggles will either escape from the compost heat or die within it
4. In vermicomposting, only carbon dioxide is liberated as one of the end product. But in microbial composting, the two of the end products are heat and carbon dioxide.
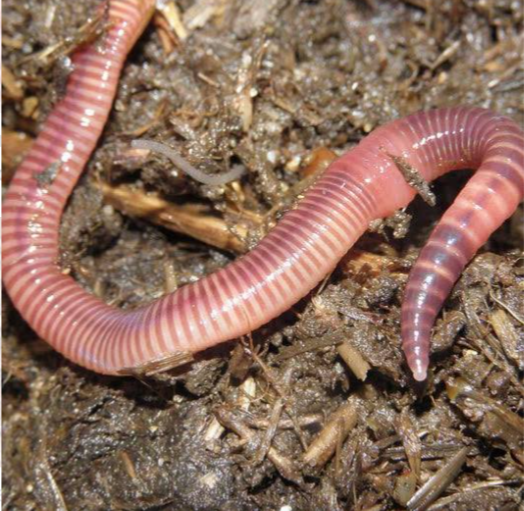
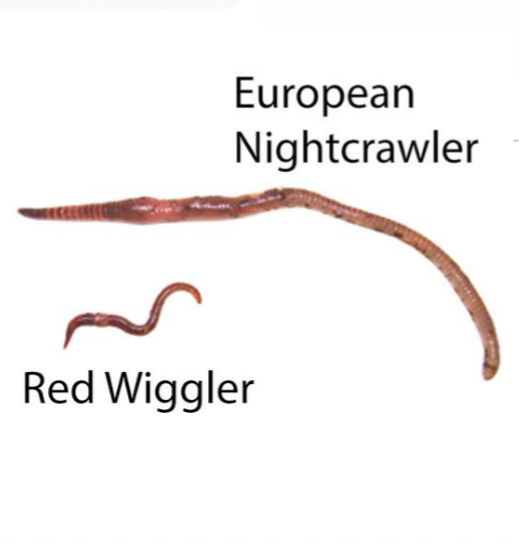
The most commonly used composting worm is a species of the red wrigglers called tiger worm or red tiger worm (Eisenia fetida). Others include: red earthworm (Lumbricus rubellus), white worms, Eisenia hortensis ( European nightcrawlers), Eudrilus eugeniae ( African Nightcrawlers) Perionyx excavatus (blue worm) Earthworms etc. (See Fig 6 to 10 belowvvvvv
MATERIALS USED FOR VERMICOMPOSTING
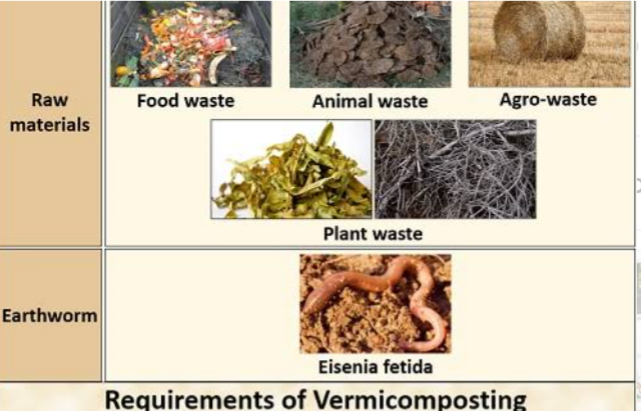
The material used for composting and vermicomposting are similar. They include:Water. dry Cow dung or poultry droppings. A large bin (plastic or cemented tank). food waste, bedding materials or Dry straw , plant biomass and arsh etc. The only difference lies in the worm and vermicast used.
TYPES / METHODS OF VERMICOMPOSTING
There are three main ways of carrying out vermicomposting. They are: bins, beds and windrows systems.
Bed Method: In this method, beds of organic matter are prepared. The compost is made a bed that measures 6*2*2 feet’s on a concrete floor. It is a simple method of making vermicompost
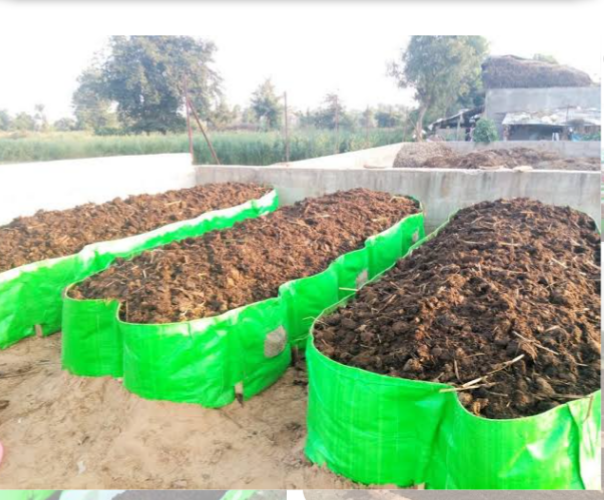
Pit Method: In this method, the organic matter is collected in cemented pits. However, this method is expensive to carry out, it also involves problems of poor aeration and waterlogging.
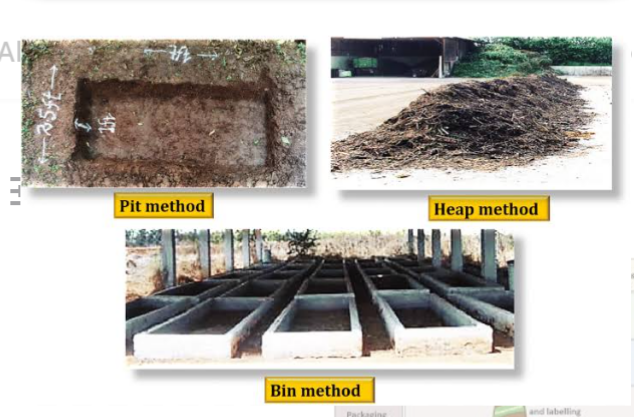
PROCEDURES IN MAKING VERMICOMPOST
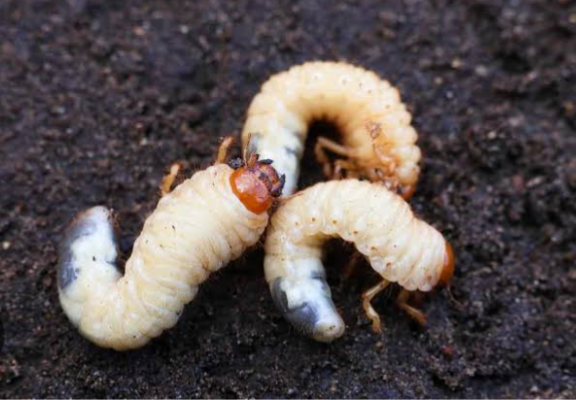
1. EARTHWORM SELECTION : Underground earthworms are not suitable for Vermicomposting. Earthworms like red worms are suitable for Vermicomposting. They multiply faster and carry out the decomposition process faster.
2. SITE SELECTION : Vermicompost can be made indoor, outdoor and under shed. The place must be shady, high humidity with cool temperature. Abandoned livestock pen can be used, a thached roofing area can be used, and abandoned buildings can be used etc.
3. CONTAINERS NEEDED: Plastic buckets, wooden boxes, storex tanks and bricks containers can be used. The containers must be perfurated at the bottom to make surplus water drain off the compost.
4. VERMICULTURE BEDS: The culture beds can be made with dried husk, sugarcane or sawdust laid at the bottom of a container. A layer of fine sand should be made on the material, followed by another layer of loamy soil on it. Sprinkle water on the layers. Shredded paper or cardboard should be placed as the next layer. And the worms introduce to multiply.
5. FOOD FOR WORMS: The worms feed on organic wastes such as rabbit dung, cow dung, poultry droppings etc. Beef and dairy manure are the best for Eisenia.
6. MATERIAL SELECTION : Materials to be selected include vegetable trash, agro industrial wastes, farm wastes, crop leftovers, fruits, flowers, and dried cattle dung. Never use wet cattle dung as they develop maggots and produce offencive odour.
7. GATHERING ALL MATERIALS IN THE CONTAINER: All materials to be used for vermicompost should be placed in the container and the worms introduced on top of it. The worms will find their way into the waste materials. Also, the materials should be properly moistened to about 60%.
8. WATERING THE BED: Water should not be poured on the bed especially on daily bases. Only sprinkle water on the bed to keep it moist at 60% rate u till the compost is ready for harvesting
9. HARVESTING OF VERMICOMPOST
When the raw materials are completely decomposed, it turns black and grainy. The vermicompost if not totally decomposed at some parts in the container, little water should be sprinkled for the worms to migrate to such areas. The vermicompost should be stored on top of cattle manure for total c completion of composting.
‘


